Scene Management
By scene management UI, administrator can create new scene, upload 3D model of datacenter, product library, asset and wiring data to scene, as well as preview scene thought T3D plug-in.
To access Scene Management module, click Scene button on the left-hand navigation bar in the Management Console
Below is the major steps to create 3D datacenter scene:
Create 3D model in online uDCB
uinnova provides online datacenter modelling tool called uDCB (uinnova DataCenter Builder) for FREE. Utilizing the WYSIWYG UI, uDCB enables users to design and build 3D datacenter with great flexibility and freedom.
uDCB is a comprehensive online design platform, where users can simply drag and drop objects into the drawing. CAD and Visio drawings can be easily imported into the uDCB to create a 3D model.
uDCB supports online viewing and community based sharing. Users can share their design with others, which effectively increase the number of availables templates for everyone.
Please refer to http://uinnova.com/dcb.html for further information.
Export uDCB Model to Local Disk
After drawings DataCenter 3D model online in uDCB, click Export button to export datacenter model to local disk.
Create New Scene
- Click +New button on the upper right corner in Scene management UI
- Input scene information on the popup window, as shown below:
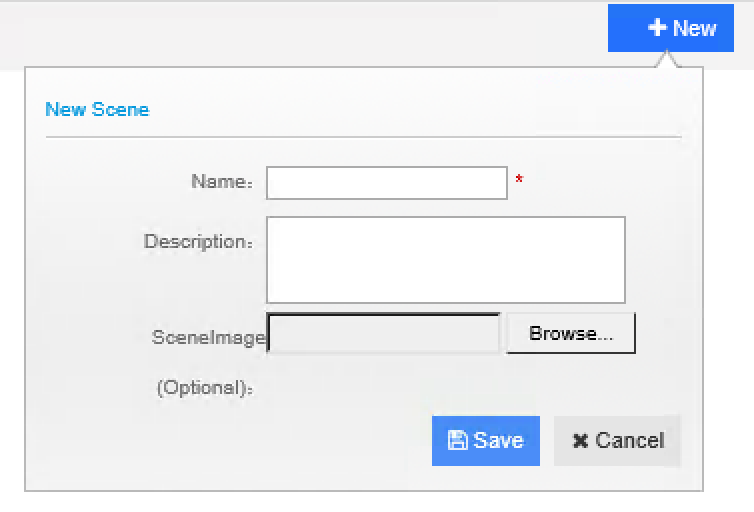
- Click Save button to save your change.
Note
Newly created scene by click New button are empty, to put 3D modelas, objects and asset data in new scenes, please use import function under scene panel.
Import Scene Data
Click import button under individual scene panel to enter data import UI. Import data by following order
1. import model library 3. import uDCB model 4. import asset data 5. import wiring data
Import Model library
Click Model Library icon in scene import UI, select model library file from popup file explorer windows, and click OK to upload.
The Model Library icon will turn to green if upload successfully.
Note
uDCV shipped with default model library named product_lib.zip under DCV_DATA folder in product tarball.
Import uDCB Scene
Click uDCB icon in scene import UI, select uDCB exported scene file from popup file explorer windows, and click OK to upload.
The uDCB icon will turn to green if upload successfully.
Note
For sample datacenter scenes and exported scene files, please visit http://uinnova.com/app/topic/35/sample-exported-scene-and-asset-data
Import Texture
Click Texture icon in scene import UI, select texture file from popup file explorer windows, and click OK to upload.
The Texture icon will turn to green if upload successfully.
Note
uDCV shipped with default texture file named unity_pic.zip under DCV_DATA folder in product tarball.
Import Asset Data
Click Asset icon in scene import UI, select asset file from popup file explorer windows, and click OK to upload.
The Asset icon will turn to green if upload successfully.
Note
To learn about asset file format and sample asset data, please visit http://uinnova.com/app/topic/35/sample-exported-scene-and-asset-data
Import Wiring Data
Click Wiring icon in scene import UI, select wiring file from popup file explorer windows, and click OK to upload.
The Wiring icon will turn to green if upload successfully.
Note
To learn about wiring file format and sample wiring data, please visit http://uinnova.com/app/topic/35/sample-exported-scene-and-asset-data
View Uploaded Scene Data
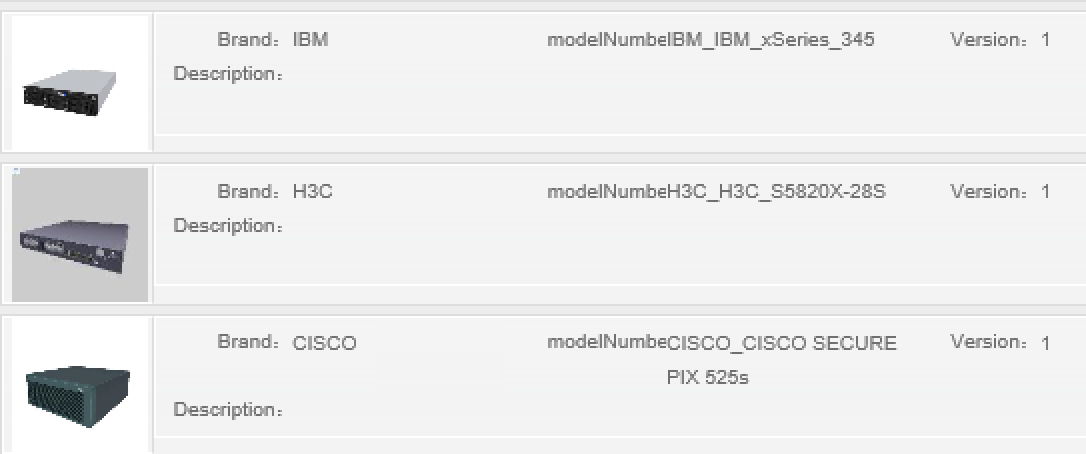
- View model library of individual scene by click Model Library button under scene panel
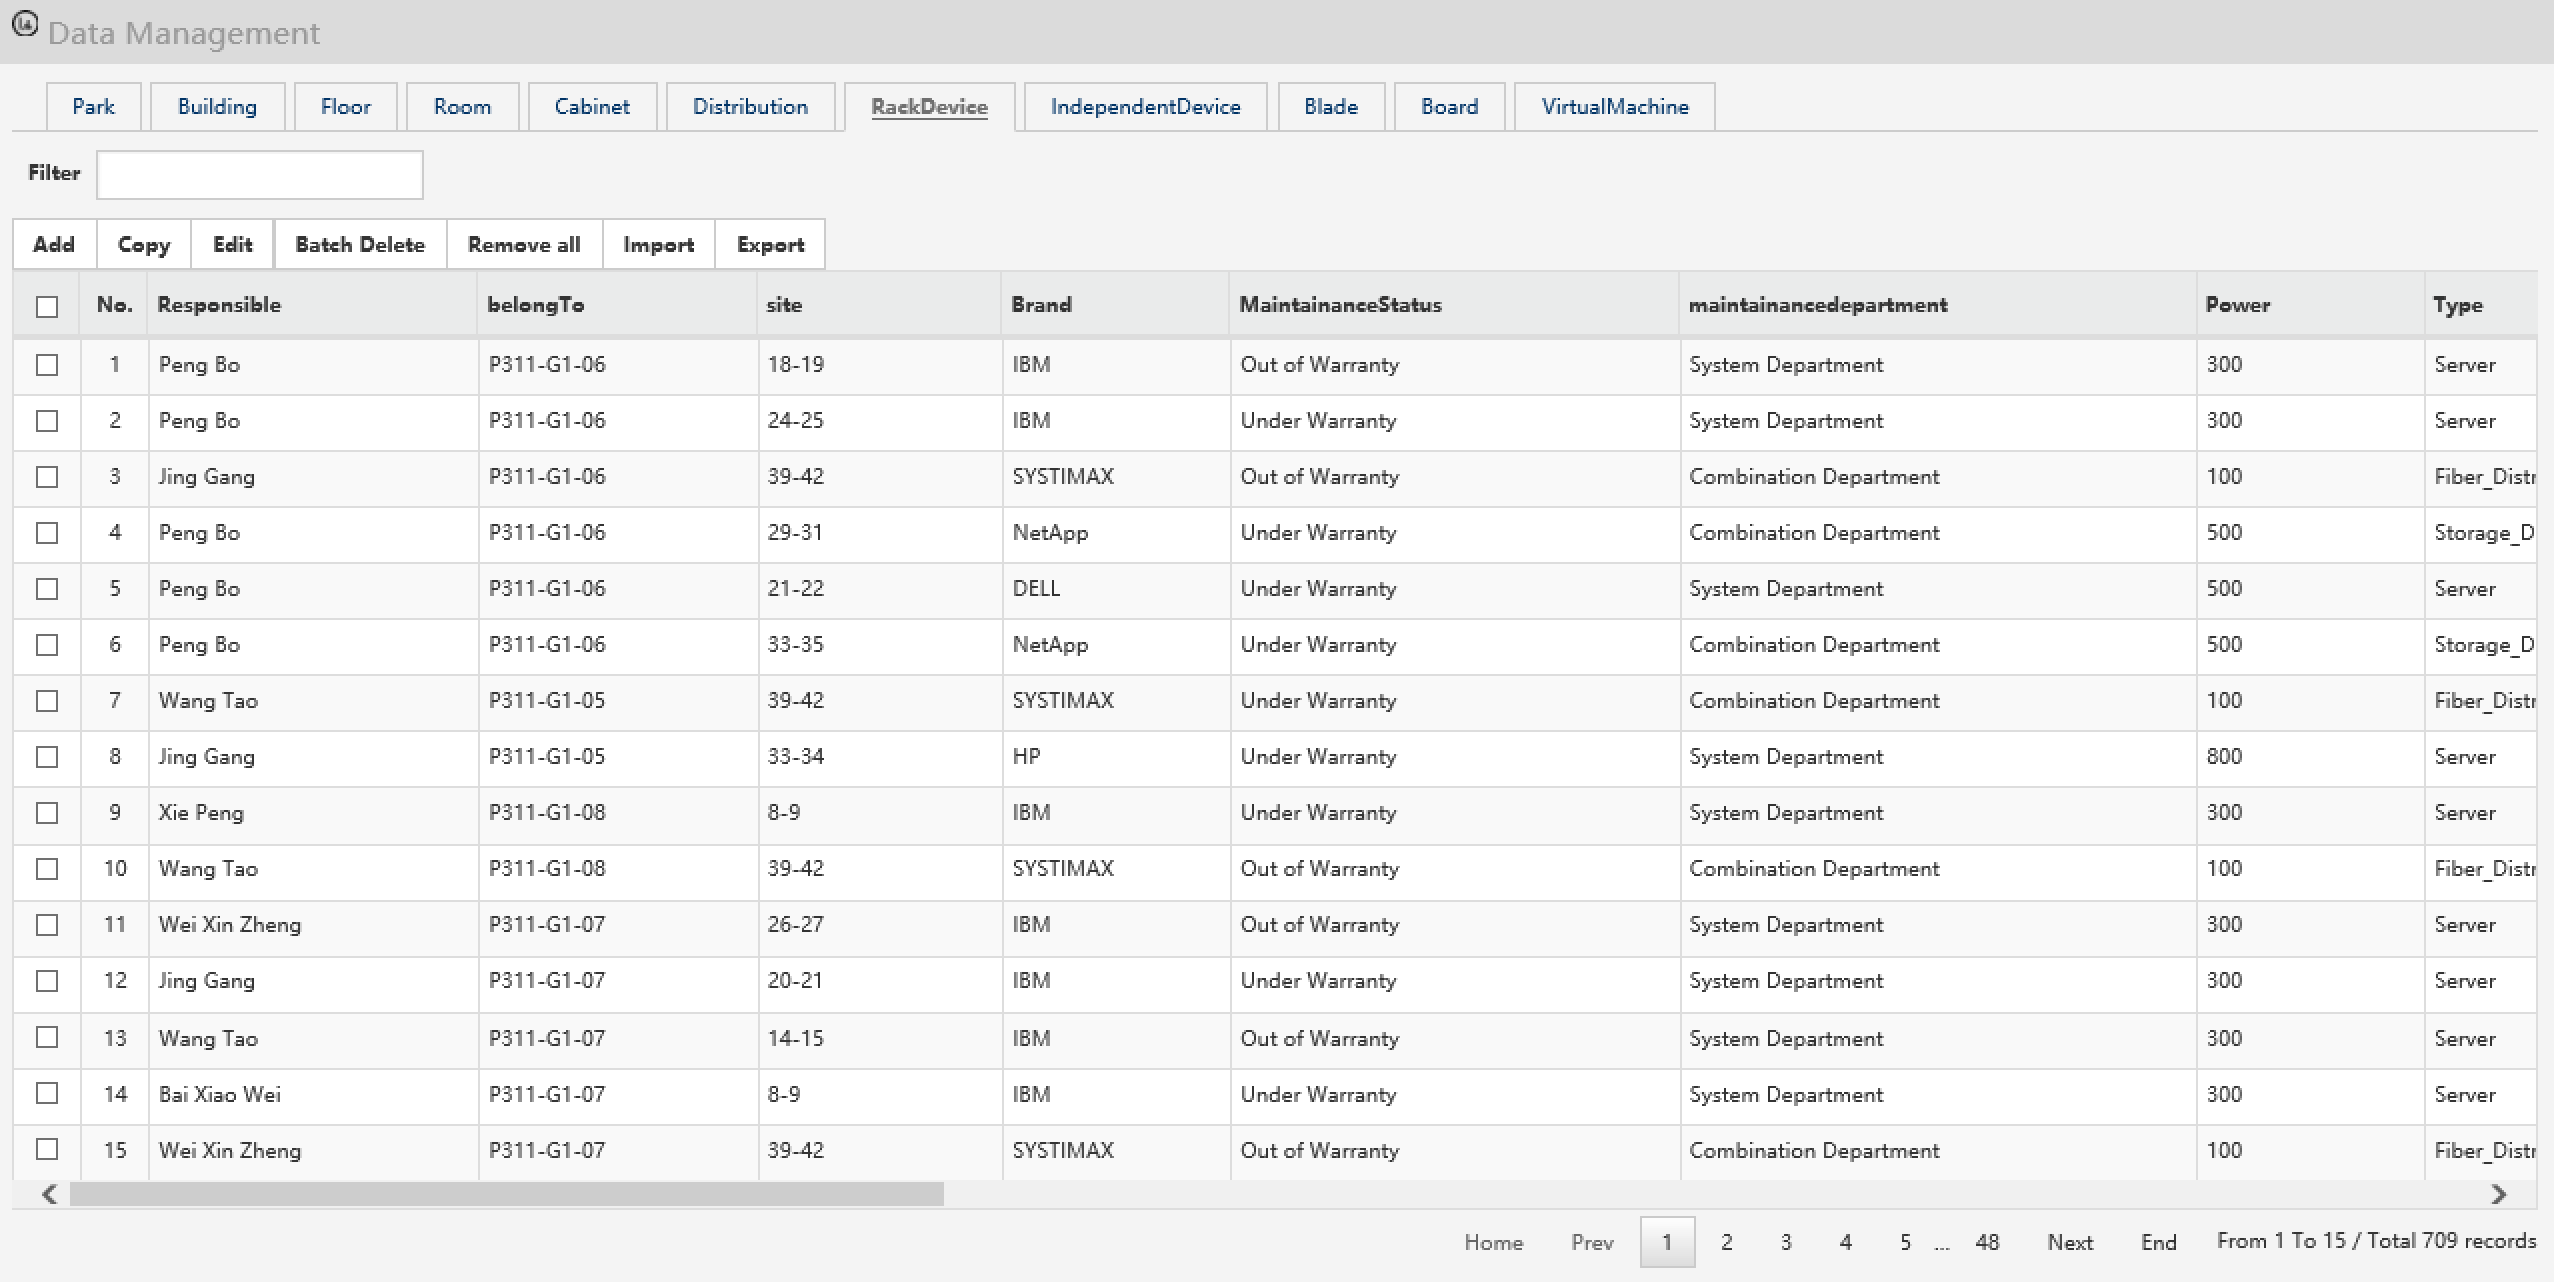
- View asset data of individual scene by click Configure button under scene panel
Preview Scene
Click Preview button under individual scene panel to preview scene in 3D.